Planning to Travel Abroad? Here’s Step-by-step Guide to Apply for Passport Online on Passport Seva Portal
Last Updated: September 22, 2022, 15:38 IST

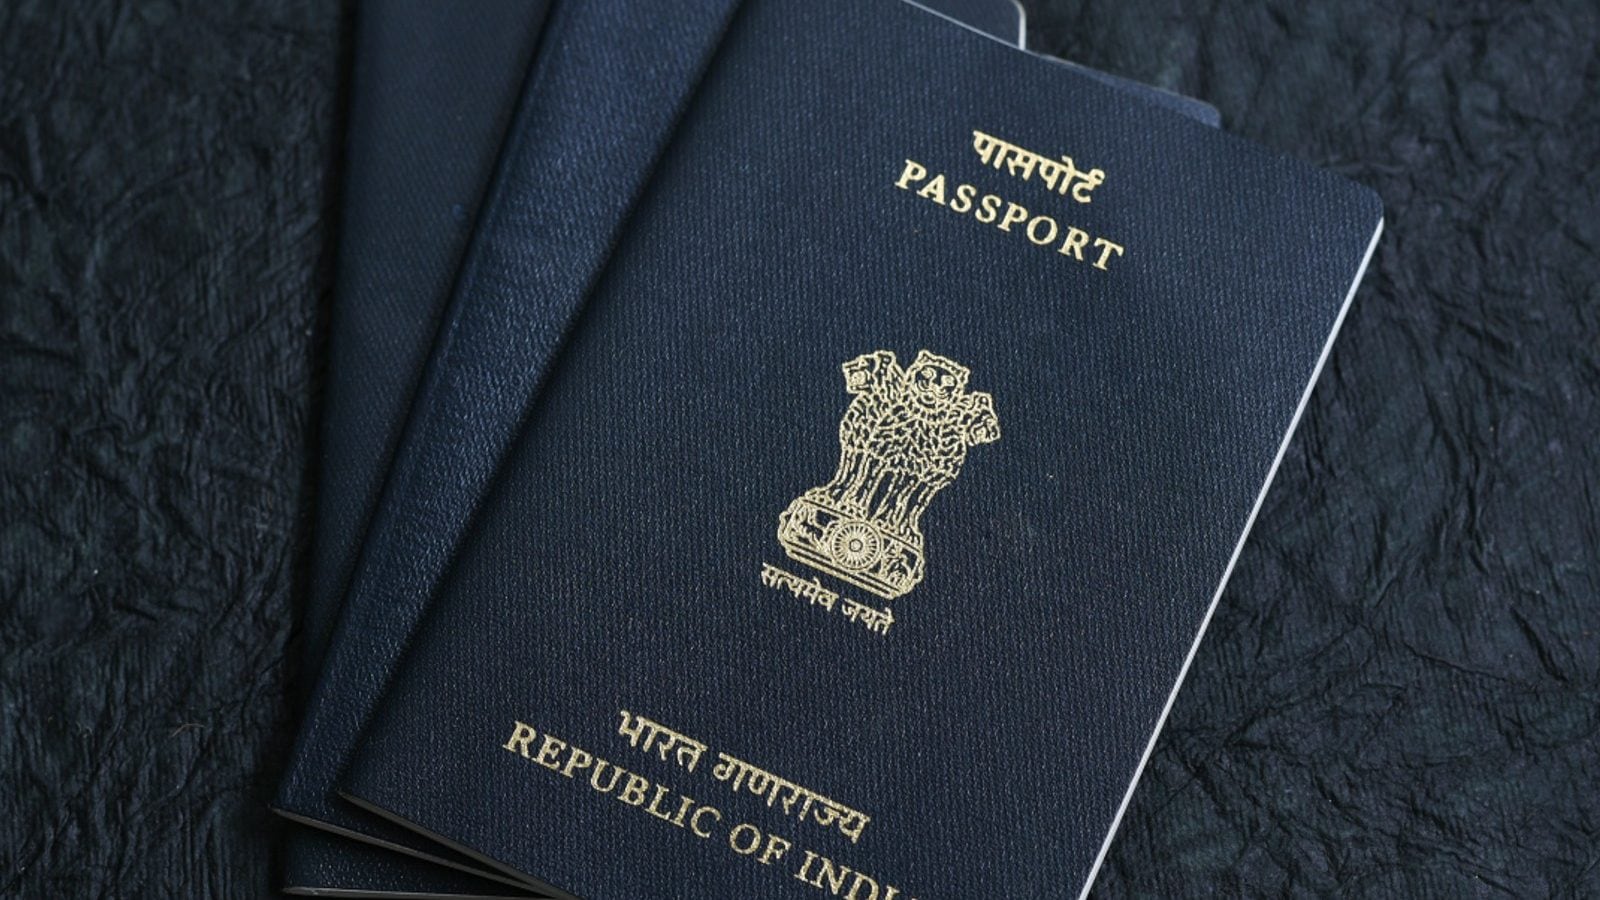
If you are planning to apply for a passport, the Passport Seva Portal is the platform you need to interact with. (Representative image: Shutterstock)
A passport is an essential document that is required when a person travels to another country for various purposes, including tourism, education, or medical purposes
Pushing their policy of e-Governance, the Ministry of External Affairs, introduced the Passport Seva Portal to make it easy for people to apply for, make changes to, and renew their passports.
A passport is an essential document that is required when a person travels to another country for various purposes, including tourism, education, or medical purposes. There is a significant growth in the demand for passports seen in the country as globalization further stretches arms, along with an expanding economy.
Initiated in May 2010, the Passport Seva Project, under the aegis of the External Affairs Ministry, has proliferated its services in disseminating this essential document to as many citizens of the country as possible, and that too, with the least amount of hassle. If you are planning to apply for a passport, the Passport Seva Portal is the platform you need to interact with.
Listed below are the steps you need to follow to apply for a passport on the portal successfully:
- Visit the official website to access the passport portal: www.passportindia.gov.in.
- Once on the website, you need to register through the Passport Seva Online Portal.
- You will be provided with a Login ID and password. Use the credentials to log in to the portal.
- Now, click on the link that says, “Apply for Fresh Passport/Re-issue of Passport.”
- A new webpage will appear. Here, enter the necessary details in the digital form and click on Submit.
- On the “View Saved/Submitted Applications” screen that appears, click the “Pay and Schedule Appointment,” to secure a slot for an appointment. You can use various payment methods including Credit/Debit Card, SBI Bank Challan, and Internet Banking.
- Once the payment is done, print the application receipt, which contains the Application Reference Number (ARN)/ Appointment Number/Appointment Number.
- Visit the Passport Seva Kendra (PSK)/Regional Passport Office (RPO) at the given appointment time with your original document.
Read all the Latest Lifestyle News and Breaking News here
For all the latest lifestyle News Click Here

