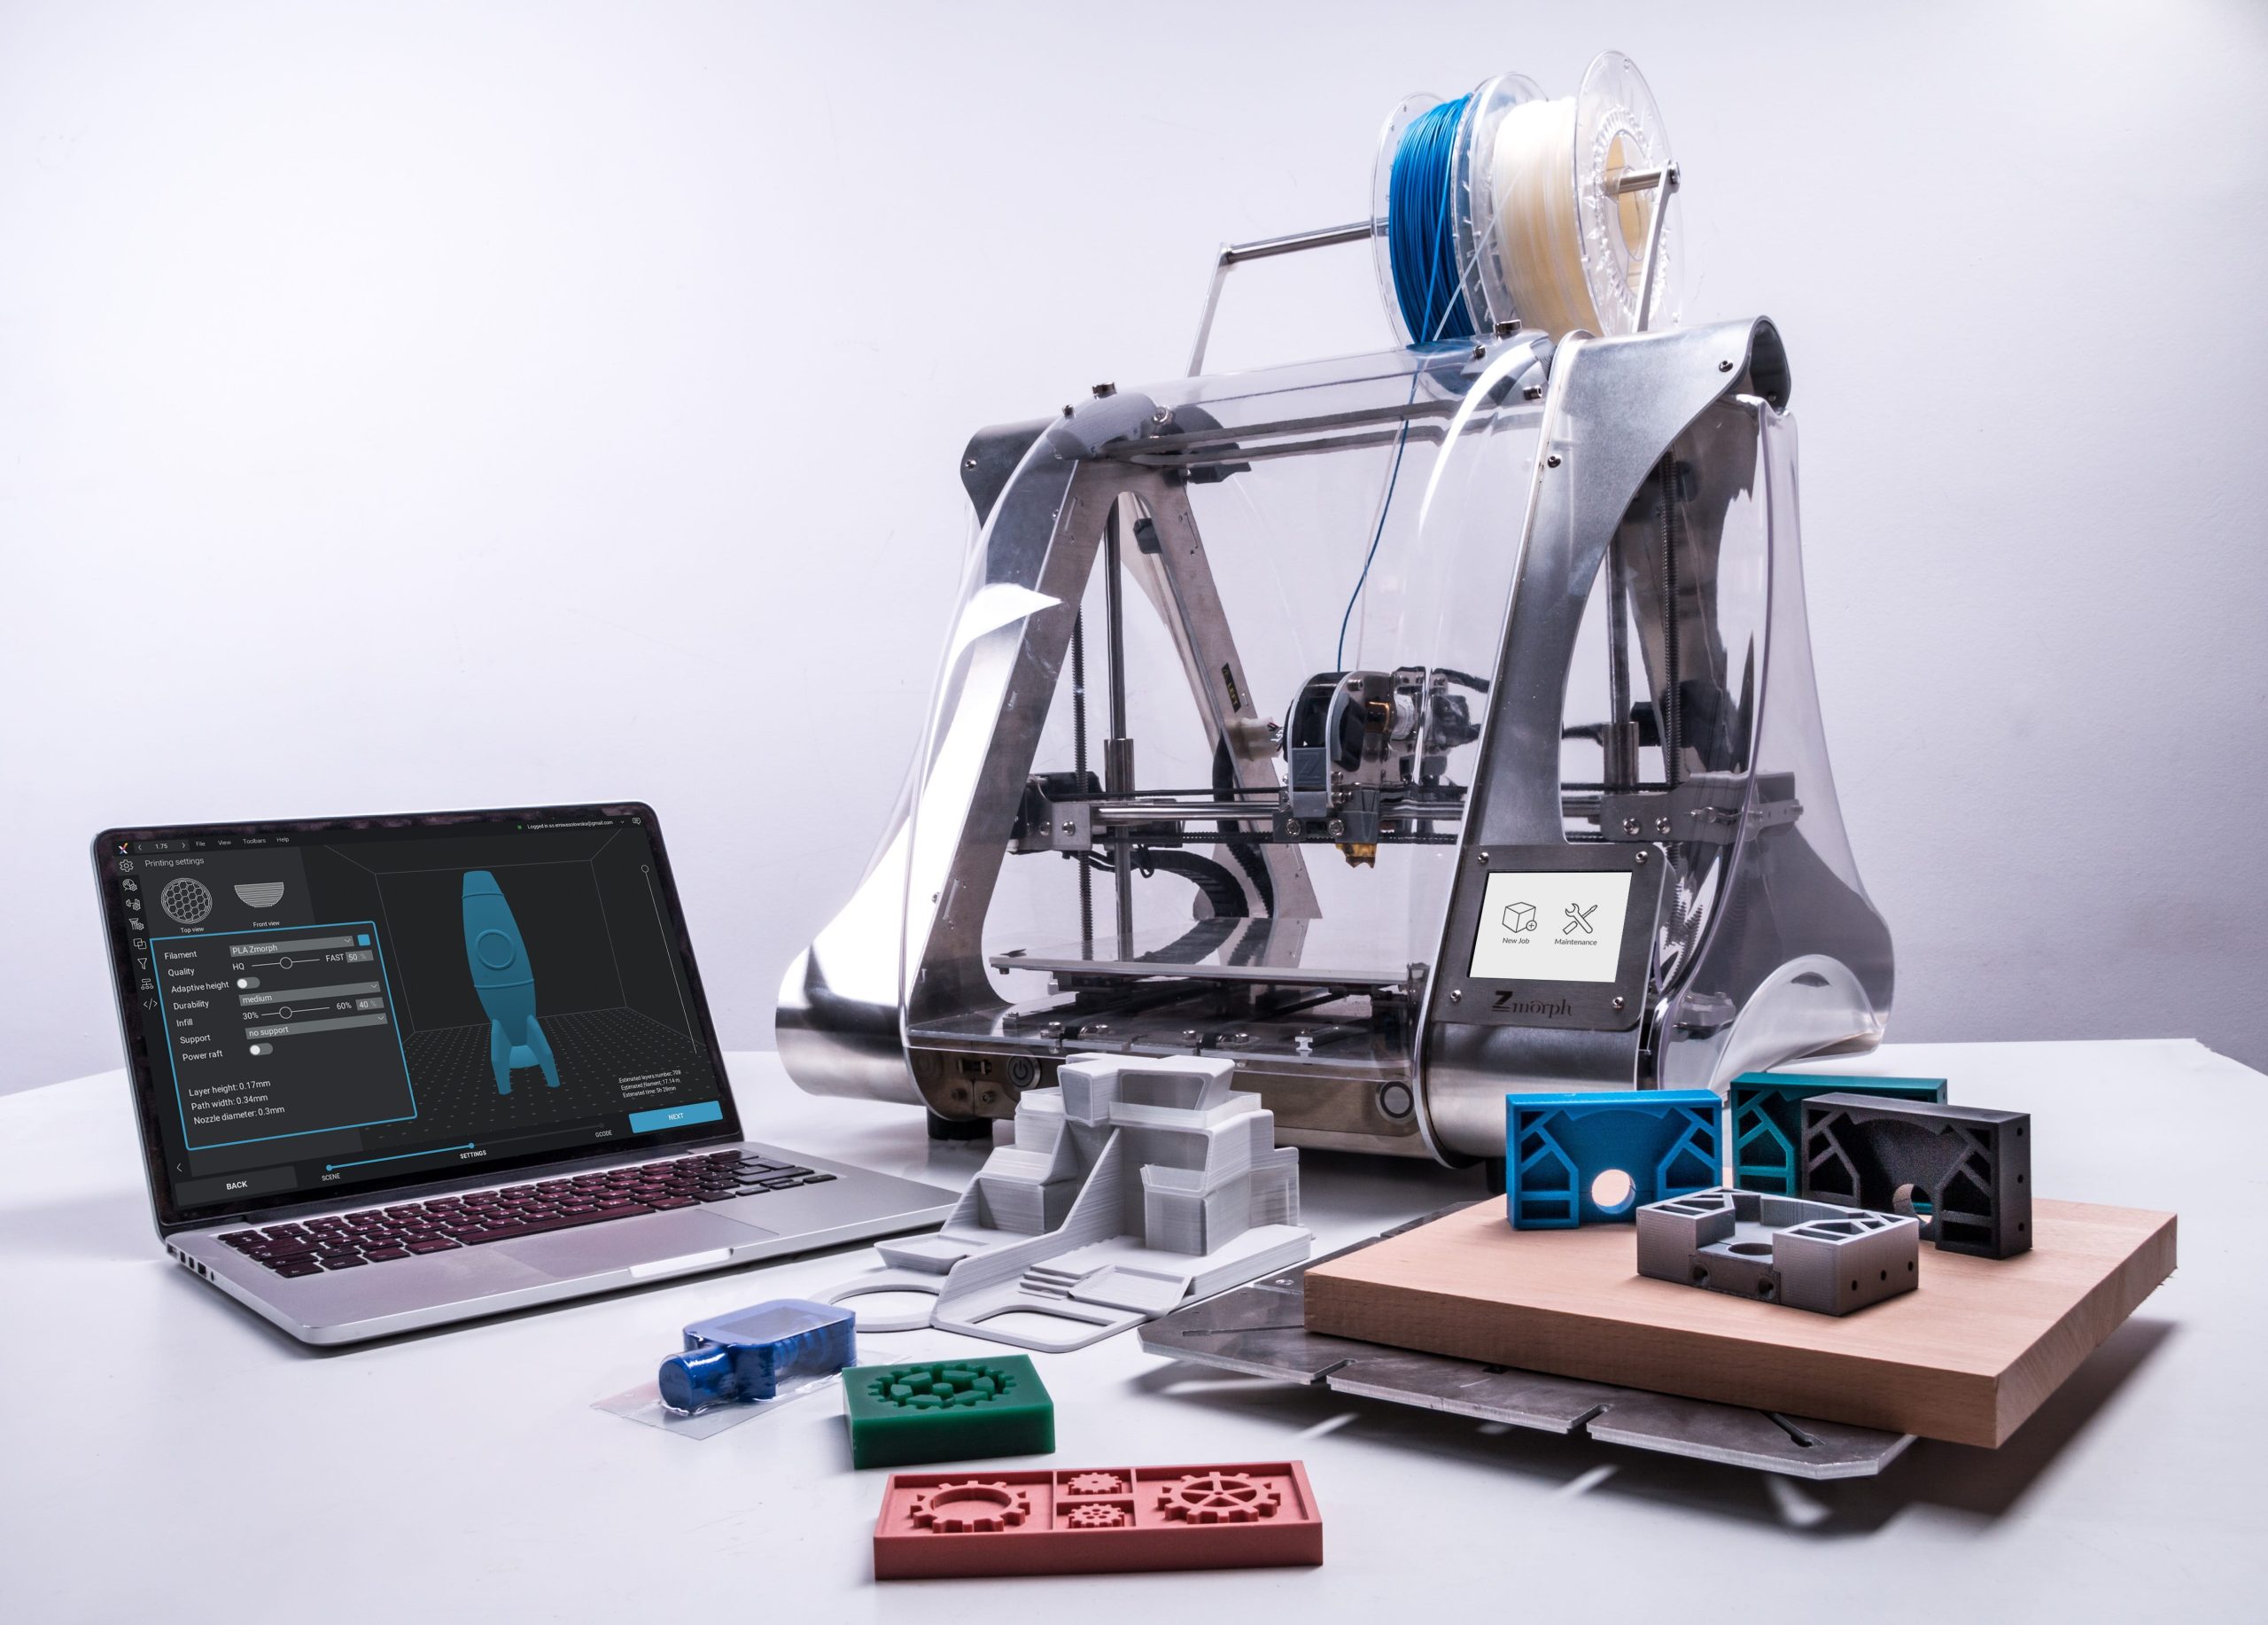
Before you start knowing about 3D Benchy, it’s incredibly crucial for you to learn a bit about 3D modeling and 3D shaping, as Benchy is deeply correlated with three-dimensional modeling. Time is passing, day by day, technology, mechanism, everything is being advanced (beyond level) and making human lives more manageable.
Crafting, modeling, illustrating, sketching, drawing, rendering, forming an object – everything has progressed and advanced with the tech-driven touch of 3D modeling. One of the major progressions of this industry is based on CAD, BIM, CAM, etc. Computer-aided design and manufacturing have made modeling and creation processes easy and speedy.
Models may now readily come to life on a computer screen thanks to design and 3D character creator software developments. Contemporary processes have brought in a fresh breed of deeply featured apps, redefining what can be created in a certain amount of hours. Many flaws connected with older techniques have been addressed by 3D modeling, which has boosted effectiveness throughout creative engineering.
Let’s look at some of the paths that 3D modeling and 3D CAD tools have revolutionized the composition procedure. Thoughts come to existence thanks to contemporary 3D modeling. Developers may modify and study their creations from all angles.
Groups are no longer limited to horizontal compositions, making it comparatively easier to test changes without investing time and money. That’s why three-dimensional modeling has become one of the most crucial techniques for several industries worldwide.
* Let’s move to the main part of this article – 3D Benchy.
3D BENCHY: WHAT’S THAT?
The 3D Benchy is a three-dimensional computerized model created exclusively for evaluating 3D printer efficiency, correctness functionality, and performance.
The 3D Benchy was launched (as stereolithography only) in April, seven years ago, with several parts; the multi-colored model was launched in July 2015. Its designer, Innovative toolkits, describes it as the merry 3D printing’s enhanced interrogation.” The creators have refused to disclose the raw data and have made it impossible to modify it.
It is thought to be the planet’s most three-dimensional manufactured item due to its standing as a fundamental benchmark. The design is a self-designed speed boat that glides in water under the correct workflow process of additive manufacturing.
So, a three-dimensional Benchy is a 3D creation ( object) made exclusively for evaluating and verifying 3D printing machines. It’s simple, comprehended stuff that anyone can acquire, design, and distribute ( share) for absolutely zero cost! One may evaluate, compare, examine their three-dimensional printer and components by 3D printing this stereolithography file and comparing the outcomes to different individuals’ printouts and equipment.
The 3D prototype is formulated to be printed at a 1:1 measurement ratio without any assistance substances. Although it is difficult for maximum 3D printers, the modest quantity routinely releases in under 120 minutes and requires little cloth. The exterior polish, the correctness of the prototype, warping, and other characteristics of the 3D Benchy model may be seen on its many textures.
PARTS OF 3D BENCHY
That’s why as time flies, 3D Benchy with different types of parts, colors, presentations, layers are coming out in the industry. 3D Architects, makers, and creative designers worldwide are eagerly using this too! They are approaching better transformation and advancement, as the world of three-dimensional modeling printing is evolving day by day.
As a 3D Benchy is mainly used to evaluate and benchmark a 3D printing machine, the parts must be extra advanced than the printer’s technology. Otherwise, the total usage and result will be wasted. Nearly each 3D Benchy has a lot of distinct parts.
Makers claim that they gave their best efforts to make one of the best tools to evaluate a 3D printer. A carefully made, professional, and expert 3D Benchy consists of many parts. Let’s look at those parts.
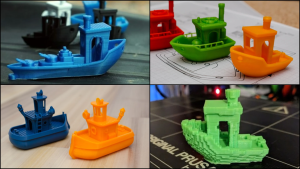
Many additive manufacturing and 3D technicians have generated an extensive fleet of tiny 3D-printed boats in varied thicknesses, dimensions, substances, and colors three months after 3D Benchy initially started its journey.
Because the primary 3D information for 3D Benchy was supplied as a solitary stereolithography file, monochrome 3D Benchy sailboats were exclusively produced. Specialists needed to reverse that by allowing everybody to experiment with various colors and substances when 3D manufacturing. The parts are-
- Bridge roof
- Bridge walls
- Cargo box
- Chimney body
- Chimney top
- Deck surface
- Doorframe port
- Door Frame starboard
- Fishing-rod-holder
- Gunwale
- Hawsepipe port
- Hawsepipe starboard
- Hull
- Stern nameplate
- Stern window
- Wheel
- Window
DUAL PRINT HEADS
Makers make it easy to 3D manufacture two distinct colors (or substances) by supplying a set of STL documents comprising the concatenated enclosures of separate collections of sailboat components since most multi-colored 3D printing machines have separated different printheads.
Suppose identical files are placed on the same XYZ axis in a 3D-printing cutting program. In that case, every component “hovers in the wind,” and they match together beautifully. You will be pleased to see how precisely they work with each others’ convenience.
THINGS TO REMEMBER WHILE USING A 3D BENCHY
- POSITIONING
If you have a 3D printer with some extra printheads (than just two) or if you want to use any mixture of colors, each of the 17 stereolithography files can be dealt with separately in carving programs. To guarantee that the shapes are fixed rightly with each other’s positions, each STL data should be inserted in the program at zero level in the Horizontal dimension.
- MULTI-COLORED 3D PRINTING
For a 3D artist, multi-colored 3D digitization is one of the very appealing features. But how are they going to do it with a 3D Benchy? The fundamental procedure is the procedure of programming one or some extra stereolithography documents into a 3D-printing carving tool and assigning which individual nozzles are utilized for each STL file.
The cutting program then builds different coatings for each characteristic and color, with pathways and forms for all. When it comes to extrusion-based additive manufacturing technology, this is the most popular technique for colored 3D printing. Other approaches, for example, filament-color-sequencing and chroma-blending, are available. Still, they are in their early phases of development and are not publicly accessible.
- TEXTURED COLORED 3D PRINTING
The STL files included in this 3D Benchy version are designed for solid-color printing, which means each file’s volumes can only be filled with one consistent color. The amount of nozzles typically determines the number of various colors.
Full-color 3D manufacturing was accomplished by employing nozzles to pertain to binding formulations in Cyan, Orange, Fuchsia, Schwarz, and Neutral. These 3D printing machines were first brought to the marketplace and are widely used to create replicas for building, decorative elements, miniatures, and other Ink-jet coloring 3D prints utilizing pieces of paper as the substrate for making subjects has been developed by Mcor Technologies in current times.
The 3D data required for such color 3D printing is based on geometric shapes, similar to the stereolithography file and dents. Still, it also includes colored information in the form of a pixel-based representation. To put it another way, this file format mixes color information from an image. It projects it onto the surface of a triangle-based 3D-mesh. By necessity, the colored information in this kind of file can just be found on the subject’s texture.
USAGE
As you already know, the most common usage of a 3D Benchy is benchmarking a three-dimensional printer. Wether you are using a large format 3D printer or just a 3D printer under $300, this test model can help you test your 3D printer.
Now let’s discuss more on its use in a comprehensive way.
- It is tough to print as the model incorporates symmetrical, overlapping, concave textures, flawless textures, plane perpendicular surfaces, huge, tiny, and angled gaps, minimal textures, initial level characteristics, and microscopic texture information.
- To assure proper manufacturing, the 3D Benchy is intended to be evaluated from specified junctures, comprising geometric correctness, distortion, aberrations, and tolerance. It retains a manufacturing time of roughly sixty minutes. 3D Benchy comes with distinct substances. This multi-material 3D Benchy is designed for additive manufacturing processes that can be manufactured in several meanings of colors; the object comprises seventeen particular folders, all with their combination of specifications.
- Manufacturers and innovators, 3D Benchy allows you to check and modify your 3D printing machine by simply tweaking design and manufacturing settings to achieve the best possible outcomes.
- This three-dimensional object’s shape and magnitude are intended to raise questions on 3D printers. It challenges all the STL-oriented 3D printing machines. You can cross-check their 3D Benchy statistics to the extent shown in the diagram. With a caliper, these are simple to quantify.
- Manufacture and inspect the results of your 3D printing machine for geometrical precision, constraints, distortions, and variations caused by modifications in disseminating parameters or substantial kinds.
- Irrespective of how successfully 3D Benchy produces three-dimensionally on a specific 3D printing machine, it helps correlate outcomes across 3D printers with similar printing parameters.
- You can easily tally and compare results with the help of a 3D Benchy.
CONCLUSION
A 3D Benchy with several distinct parts poses the following issues when printed on a filament-based color printing machine:
- When melted plastics flow, minimize color interference among nozzles.
- Getting the printheads aligned and calibrated correctly.
- Choosing the most acceptable cutting software configurations.
- Additional elements, such as the Hawse Pipe and inscription, should be printed.
We hope you find the article informative and handy. Let us know your thoughts in the comments section below