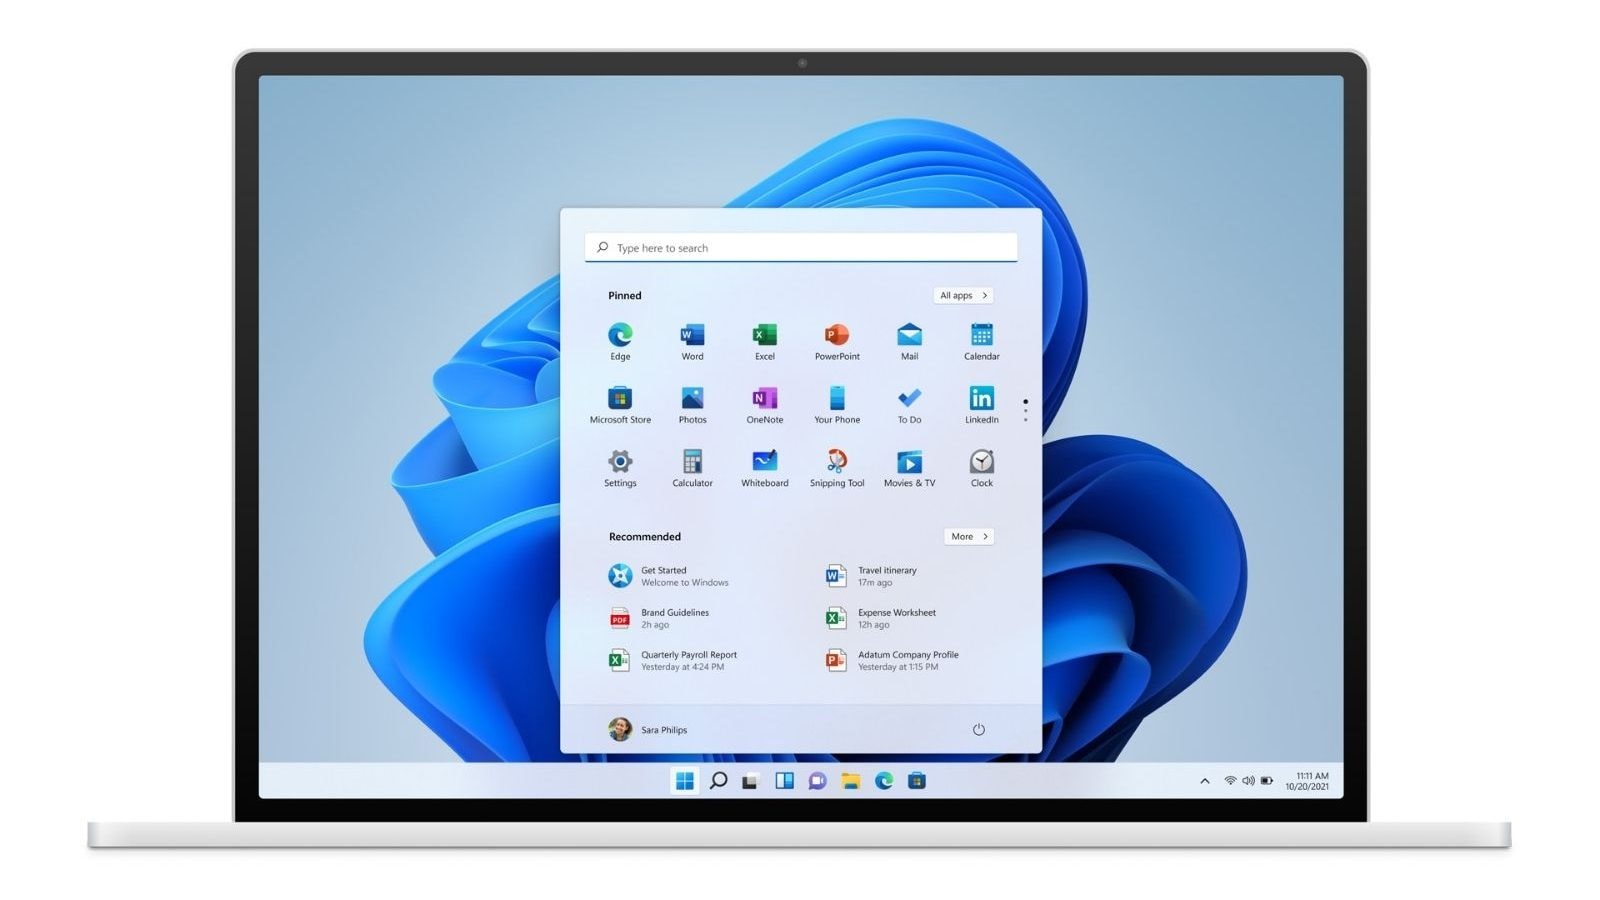
After a heavy buzz of rounded-corners design and android apps support following its announcement in August, Windows 11 finally arrived earlier this month on October 5. The arrival certainly means big for Microsoft Windows fans as they are getting to try their hands on the brand-new operating system. But not everyone is happy with the arrival of the latest update, thanks to a big if that came with the promise of a free upgrade to Windows 11. The problem is that according to Microsoft, not all CPUs are supported by the latest OS and to be able to install Windows 11, a device must have a Trusted Platform Module (TPM) 2.0 crypto processor that the new OS could use to ensure hardware-level security.
However, if your PC doesn’t have the TPM2.0 chip and you still want to enjoy Windows 11, there is a simple workaround that you can use. Interestingly, this method is approved by Microsoft, but if you use this method, Microsoft reserves the right to deny updates.
In just a few simple steps, you can install Windows 11 on your PC.
Step 1. First of all, you need to download Windows 11 iso file. Go to the official Windows 11 download page by clicking on this link. https://www.microsoft.com/en-us/software-download/windows11
Step 2. Under the ‘Download Windows 11 Disk Image (ISO)’ section, select Windows 11 from the drop-down.
Step 3. Click on the blue download button. Make sure beforehand that you have enough data and speed as the Windows 11 iso file is 5.1GB in size. You can move to the next step while the Windows 11 ISO file is being downloaded.
Step 4. Click on the Start icon and type “regedit” without the quotes.
Step 5. When the Registry Editor shows up in the Start menu, press Enter to launch the app.
Step 6. The app will demand administrator rights, click on ‘Yes.’
Step 7. You should see expandable folders on the left panel. By expanding them, you can find registries nested under various levels. Navigate to find this address: Computer > HKEY_LOCAL_MACHINE > SYSTEM > Setup > MoSetup
Step 8. Alternatively, you can copy and paste ComputerHKEY_LOCAL_MACHINESYSTEMSetupMoSetup in the address bar, where “Computer” is written.
Step 9. Now, right-click on the right panel and select New > DWORD (32-bit) Value.
Step 10. In the ‘Value Name’ field, write or copy-paste AllowUpgradesWithUnsupportedTPMOrCPU and in the ‘Value Data’ field, type 1.
Step 11. Click on ‘OK,’ and close the app. Wait for the downloading to finish.
Step 12. Once the ISO is downloaded, open Windows Explorer to find where it was downloaded and double-click on it so that it mounts itself and opens.
Step 13. Double-click on the setup file and the installation process will begin. You may receive a warning but the installer will not stop you from going ahead.
Read all the Latest News, Breaking News and Coronavirus News here. Follow us on Facebook, Twitter and Telegram.
For all the latest Technology News Click Here